In this guide, you'll learn how to build a Data Agent for Snowflake Intelligence using Snowflake Cortex AI that can intelligently respond to questions by reasoning over both structured and unstructured data.
We'll use a custom dataset focused on bikes and skis. This dataset is intentionally artificial, ensuring that no external LLM has prior knowledge of it. This gives us a clean and controlled environment to test and evaluate our data agent. By the end of the session, you'll have a working AI-powered agent capable of understanding and retrieving insights across diverse data types — all securely within Snowflake.
NOTE: Snowflake Intelligence is in Public Preview as of August 2025.
What is Snowflake Intelligence?
Snowflake Intelligence is an agentic AI solution, enabling business users to directly and securely interact with their organization's structured and unstructured data using natural language. Snowflake Intelligence provides:
- Natural language interaction: Engage with data like a trusted colleague to securely access and analyze both structured and unstructured data to uncover trends and understand the "why" behind the "what."
- Actionable intelligence: Go beyond just insights by configuring agents to perform tasks based on findings, such as sending notifications, updating records in other systems, or triggering workflows.
- Enterprise-grade security and governance: Honors existing access controls and governance, unifies information from Snowflake and third-party applications for a holistic view, and provides transparency on how answers are derived and data lineage.
What You Will Learn
- How to setup your environment using Git integration and Snowflake Notebooks
- How to work with semantic models and setup Cortex Analyst for structured data
- How to setup Cortext Search for unstructured data like PDFs and images
- How to use these tools in Snowflake Intelligence
What You Will Build
A Data Agent that can intelligently respond to questions by reasoning over both structured and unstructured data.
What You Will Need
- A Snowflake account as described specifically in Step 2 Snowflake Trial Account.
To complete this lab, you'll need to create a Snowflake account.
- Click on this link to create a free trial account.
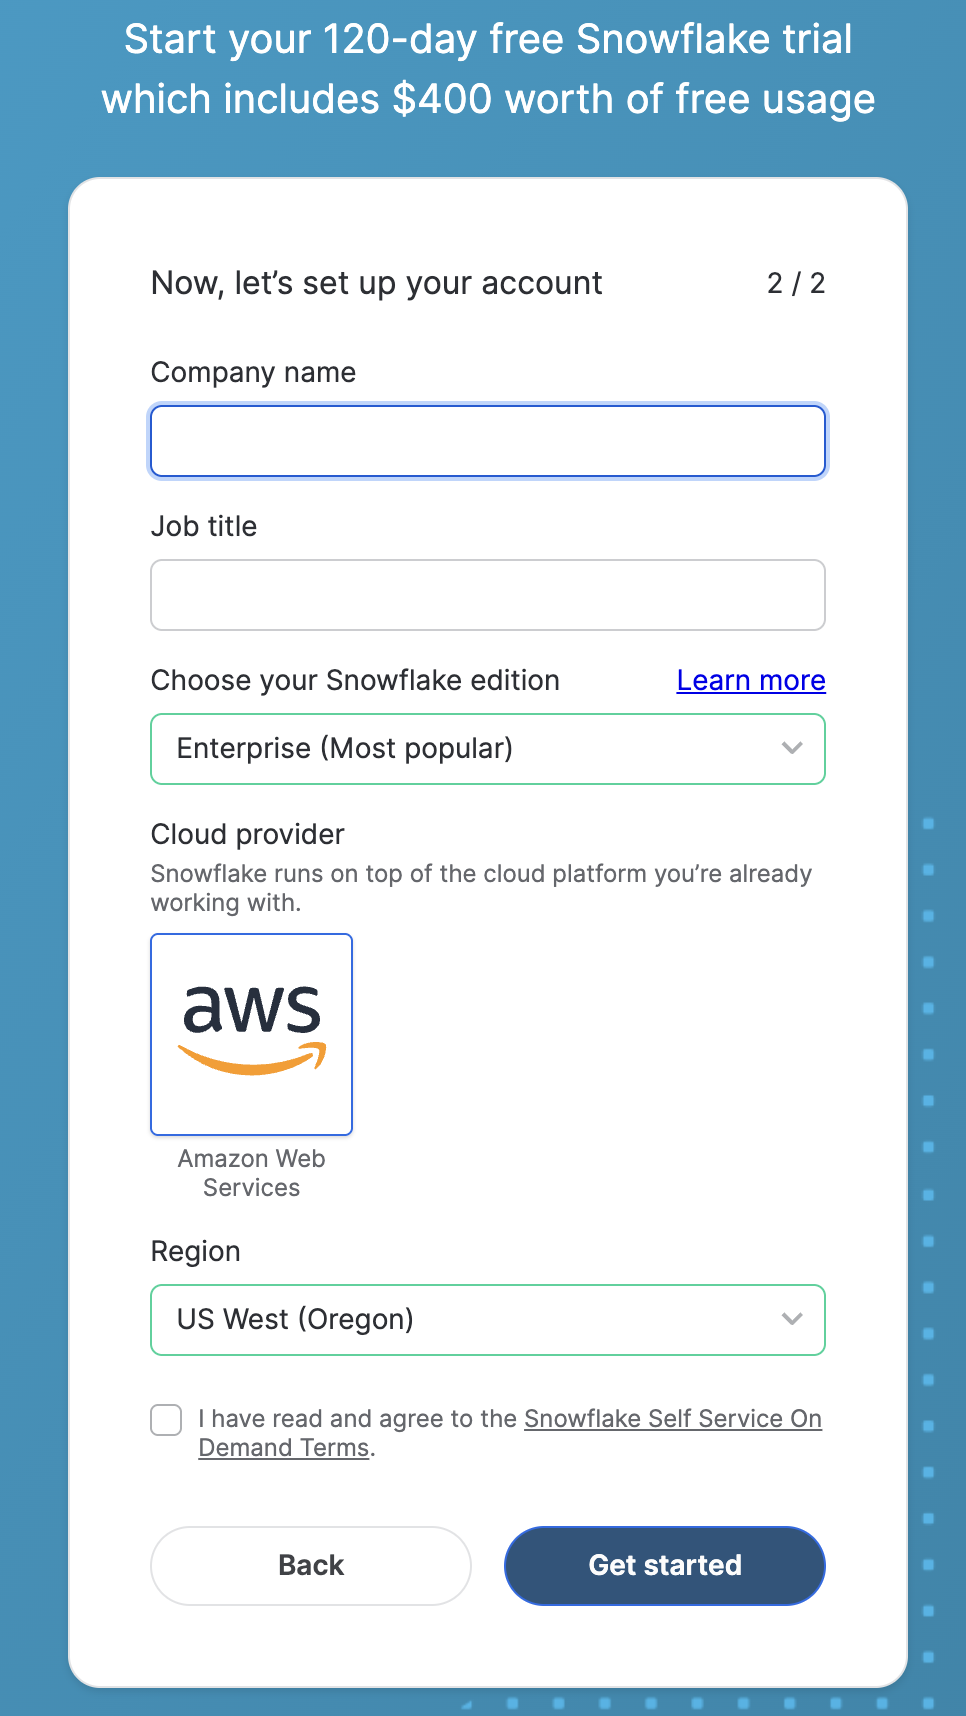
- Complete the first page of the form on the page.
- On the next section of the form, be sure to set the Snowflake edition to Enterprise (Most popular)).
- Select AWS – Amazon Web Services as the cloud provider.
- Select US West (Oregon) as the region.
- Complete the rest of the form and click Get started.
- Clone GitHub repo.
- In Snowsight, create a SQL Worksheet and open setup.sql to execute all statements in order from top to bottom.
This SQL script sets up roles, databases, schemas, integrations, and stages in Snowflake. Here's a summary of the objects being created:
Role:
  - snowflake_intelligence_admin (Privileges: create integrations, databases, use warehouse)

Databases:
  - snowflake_intelligence
  - dash_cortex_agents

Schemas:
  - snowflake_intelligence.agents
  - dash_cortex_agents.data

Privileges:
  - Grants to allow agent creation on the snowflake_intelligence.agents schema

API Integration:
  - git_api_integration (For accessing GitHub via HTTPS)

Git Repository:
  - git_repo (Links to a specific GitHub repository)

Stage:
  - docs (With Snowflake SSE encryption and directory enabled)

Data Copy:
  - Copies files from the Git repo into the docs stage

Notification Integration:
  - email_integration

Stored Procedure:
  - send_email
We will use Snowflake Notebook to setup the Cortex Analyst and Cortex Search tools that will be used by the data agent in Snowflake Intelligence.
Let's get started!
- Browse to Databases and select DASH_CORTEX_AGENTS » DATA » Git Repositories » GIT REPO and right click on
SETUP_TOOLS.ipynb, then click on "..." and select Create notebook. - Give it a name and select other options including DASH_CORTEX_AGENTS and DATA for location and Run on warehouse for Python environment.
The semantic model maps business terminology to the structured data and adds contextual meaning. It allows Cortex Analyst to generate the correct SQL for a question asked in natural language.
Open the semantic model
- On the left hand navigation menu, open AI & ML » Cortex Analyst
- Click on the existing
semantic.yamlfile located in DASH_CORTEX_AGENTS » DATA » SEMANTIC_FILES.
Test the semantic model
Let's ask these analytical questions to test the semantic file:
- What is the average revenue per transaction per sales channel?
- What products are often bought by the same customers?
Cortex Analyst and Cortex Search Integration
Using Cortex Analyst integration with Cortex Search, we can improve the retrieval of possible values of a column without listing them all in the semantic model file. Let's try it as an example for the ARTICLE NAMES.
- Click on DIM_ARTICLE -> Dimensions and edit ARTICLE_NAME. Here you will see that some sample values have been provided.
Let's see what happens if we ask this question.
- Q. What are the total sales for the carvers?
At this point, you may see this response:
I apologize, but I'm not sure what 'carvers' refers to in the context of this data. The term 'carvers' could potentially refer to a specific article name, brand, or category, but it's not clear from your question which dimension you're referring to or if this value exists in our sales data.
Now let's integrate the ARTICLE_NAME dimension with the DASH_CORTEX_AGENTS.DATA.ARTICLE_NAME_SEARCH Cortex Search Service we created in the Notebook.
- Remove the sample values provided
- Click on + Search Service and add ARTICLE_NAME_SEARCH
- Click on Save, also save your semantic file (top right)
Now let's ask the same question again.
- Q. What are the total sales for the carvers?
Notice that Cortex Analyst is now able to provide the right answer because of the Cortex Search integration. Also note that we asked for "Carvers", but the literal article name is "Carver Skis."
Now that we have the tools ready, we can create a Data Agent for Snowflake Intelligence.
Create Agent
An agent is an intelligent entity within Snowflake Intelligence that acts on behalf of the user. Agents are configured with specific tools and orchestration logic to answer questions and perform tasks on top of your data.
Note that you can create multiple agents for various use cases and/or business teams in your organization.
- In Snowsight, on the left hand navigation menu, select AI & ML » Agents
- On the top right, click on Create agent
- Schema: SNOWFLAKE_INTELLIGENCE.AGENTS
- Select Create this agent for Snowflake Intelligence
- Agent object name: Dash_AI
- Display name: Dash//AI
- Select the newly created Dash_AI agent and click on Edit on the top right corner and make the following updates.
Add Instructions
Add the following starter questions under Sample questions:
- Show me monthly sales revenue trends by product category over the past 2 years.
- What is the guarantee of the premium bike?
- What is the length of the carver skis?
- Is there any brand in the frame of the downhill bike?
- How many carvers are we selling per year in the North region?
Add Tools
Tools are the capabilities an agent can use to accomplish a task. Think of them as the agent's skillset and note that you can add one or more of each of the following tools.
- Tools
- Cortex Analyst
- Click on + Add
- Name: Sales_Data
- Add: Semantic model file DASH_CORTEX_AGENTS.DATA.SEMANTIC_FILES » semantic.yaml
- Warehouse: COMPUTE_WH
- Query timeout (seconds): 60
- Description: This retail sales analytics semantic model from DASH_CORTEX_AGENTS.DATA database provides comprehensive sales transaction analysis capabilities through a star schema connecting customer demographics, product catalog, and sales facts. The model enables detailed reporting on sales performance across multiple dimensions including customer segments (Premium, Regular, Occasional), product categories (Bikes, Ski Boots, Skis), sales channels (Online, In-Store, Partner), and time periods. The central FACT_SALES table captures transaction details including quantities, pricing, and promotional information, while linking to DIM_CUSTOMER for demographic analysis and DIM_ARTICLE for product performance insights. The system supports advanced product search functionality and is specifically designed to answer sales-related questions about product performance, customer behavior, and revenue analysis while excluding product specifications or usage information.
- Click on + Add
- Cortex Search Services
- Click on + Add
- Name: Docs
- Search service: DASH_CORTEX_AGENTS.DATA.DOCS
- ID column: CHUNK_INDEX
- Title column: RELATIVE_PATH
- Click on + Add
- Custom tools
- Click on + Add
- Name: Send_Email
- Resource type: procedure
- Database & Schema: DASH_CORTEX_AGENTS.DATA
- Custom tool identifier: DASH_CORTEX_AGENTS.DATA.SEND_EMAIL()
- Parameter: body
- Description: Use HTML-Syntax for this. If the content you get is in markdown, translate it to HTML. If body is not provided, summarize the last question and use that as content for the email.
- Parameter: recipient_email
- Description: If the email is not provided, send it to YOUR_EMAIL_ADDRESS_GOES_HERE.
- Parameter: subject
- Description: If subject is not provided, use "Snowflake Intelligence".
- Warehouse: COMPUTE_WH
- Query timeout (seconds): 60
- Click on + Add
- Cortex Analyst
- Orchestration: Whenever you can answer visually with a chart, always choose to generate a chart even if the user didn't specify to.
- Access: SNOWFLAKE_INTELLIGENCE_ADMIN
Launch Snowflake Intelligence
Open Snowflake Intelligence and make sure you're signed into the right account. If you're not sure, click on your name in the bottom left » Sign out and sign back in. Also note that your role should be set to SNOWFLAKE_INTELLIGENCE_ADMIN.
Now, let's ask the following questions.
Unstructured Data
These are questions where the answers can be found in the PDF documents and image descriptions.
- Q. What is the guarantee of the premium bike?
In this case, we can see how it cites the warranty information extracted from the PDF file.
- Q. What is the length of the carver skis?
Since we have processed images, the extracted descriptions can also be used by Cortex Agents to answer questions.
- Q. Is there any brand in the frame of the downhill bike?
Structured Data
These are analytical questions where the answers can be found in structured data stored in Snowflake tables.
- Q. Show me monthly sales revenue trends by product category over the past 2 years.
- Q. How many carvers are we selling per year in the North region?
Notice that all 3 tables are used to answer this question.
- Q. How many infant bikes are we selling per month?
- Q. What are the top 5 customers buying the carvers?
Congratulations! You've learned how to securely build data agents and agentic application in Snowflake.
What You Learned
- How to setup your environment using Git integration and Snowflake Notebooks
- How to work with semantic models and setup Cortex Analyst for structured data
- How to setup Cortext Search for unstructured data like PDFs and images
- How to use these tools in Snowflake Intelligence