Snowflake CLI is a command-line interface designed for developers building apps on Snowflake. Using Snowflake CLI, you can manage a Snowflake Native App, Snowpark functions, stored procedures, Snowpark Container Services, and much more. This guide will show you how to configure and efficiently use Snowflake CLI.
Prerequisites
- Video: Introduction to Snowflake
- Video: Snowflake Data Loading Basics
- Basic knowledge of Snowflake concepts
- You'll need a Snowflake account. You can sign up for a free 30-day trial account here: https://signup.snowflake.com/.
What You'll Learn
- How to install Snowflake CLI
- How to configure Snowflake CLI
- How to switch between different Snowflake connections
- How to download and upload files using Snowflake CLI
- How to execute SQL using Snowflake CLI
- How to manage Snowflake objects
- How to build and deploy Snowpark and Streamlit applications
- How to build and deploy a Snowflake Native App
- How to create and deploy Snowpark Container Services projects
First, you'll install the Snowflake CLI, and later you'll configure it to connect to your Snowflake account.
Create a Snowflake Account
You'll need a Snowflake account. You can sign up for a free 30-day trial account here: https://signup.snowflake.com/.
Access Snowflake's Web Interface
Navigate to https://app.snowflake.com/ and log into your Snowflake account.
Install the Snowflake CLI
Snowflake CLI can be installed on Linux, Windows, or Mac. To install it we recommend using package manager dedicated for your operating system. Follow the detailed instruction from the official documentation to install the CLI.
Once the CLI has been successfully installed, run the following command to verify that it was successfully installed:
snow --help
If Snowflake CLI was installed successfully, you should see output similar to the following:
Usage: snow [OPTIONS] COMMAND [ARGS]...

 Snowflake CLI tool for developers.

╭─ Options ────────────────────────────────────────────────────────────────────────────────────╮
│ --version                    Shows version of the Snowflake CLI                              │
│ --info                       Shows information about the Snowflake CLI                       │
│ --config-file          FILE  Specifies Snowflake CLI configuration file that should be used  │
│                              [default: None]                                                 │
│ --help         -h            Show this message and exit.                                     │
╰──────────────────────────────────────────────────────────────────────────────────────────────╯
╭─ Commands ───────────────────────────────────────────────────────────────────────────────────╮
│ app         Manages a Snowflake Native App                                                   │
│ connection  Manages connections to Snowflake.                                                │
│ object      Manages Snowflake objects like warehouses and stages                             │
│ snowpark    Manages procedures and functions.                                                │
│ spcs        Manages Snowpark Container Services compute pools, services, image registries,   │
│             and image repositories.                                                          │
│ sql         Executes Snowflake query.                                                        │
│ streamlit   Manages Streamlit in Snowflake.                                                  │
╰──────────────────────────────────────────────────────────────────────────────────────────────╯
Troubleshooting
You may encounter an error like the following when attempting to use Snowflake CLI for the first time:
╭─ Error ──────────────────────────────────────────────────────────────────────────────────────╮
│ Configuration file /Users/yourusername/.snowflake/config.toml has too wide permissions, run    │
│ `chmod 0600 "/Users/yourusername/.snowflake/config.toml"`                                      │
╰──────────────────────────────────────────────────────────────────────────────────────────────╯
In this case, run chmod 0600 "/Users/yourusername/.snowflake/config.toml" in the terminal to update the permissions on the file. After running this command, run snow --help again. You should see the output shown earlier in this section.
Configure connection to Snowflake
Snowflake CLI uses a configuration file named config.toml for storing your Snowflake connections . This file is created automatically when you run Snowflake CLI for the first time. The file is typically created at ~/.snowflake/config.toml, but to confirm the default config file path, run the following command:
snow --info
The output will be an array of dictionaries. One of the dictionaries will contain the default config file path, similar to the following:
...

{
  "key": "default_config_file_path",
  "value": "/Users/yourusername/.snowflake/config.toml
},

...
You can add your connection details within config.toml either manually or by using Snowflake CLI. Let's add a connection using Snowflake CLI.
To add a new connection, run the following:
snow connection add
The command will guide you through defining a connection. You can omit all fields denoted by [optional] by pressing "Enter" or "return" on your keyboard.
Here's an example:
Name for this connection: my_connection
Snowflake account name: my_account
Snowflake username: jdoe
Snowflake password [optional]:
Role for the connection [optional]:
Warehouse for the connection [optional]:
Database for the connection [optional]:
Schema for the connection [optional]:
Connection host [optional]:
Connection port [optional]:
Snowflake region [optional]:
Authentication method [optional]:
Path to private key file [optional]:
For more detailed information about configuring connections see DOCS LINK.
Test connection to Snowflake
To test a connection to Snowflake, run the following command
snow connection test --connection my_connection
In the example above, we use my_connection as the connection name, as it corresponds to the prior example connection. To test your connection, replace my_connection with the name of the connection you defined during the connection definition process.
An understanding of connections is critical for efficiently working with Snowflake CLI. In the next step, you'll learn how to work with connections.
Default connection
You can define a default Snowflake connection by adding the following at the top of config.toml:
default_connection_name = "my_connection"
This is the connection that will be used by default if you do not specify a connection name when using the -c or --connection flag with Snowflake CLI.
You can also set a default connection directly from the terminal:
snow connection set-default <connection-name>
Running set-default will update your config.toml file to use the specified connection as the default connection. This command is incredibly convenient if you work across multiple Snowflake accounts.
Using multiple connections
By default, Snowflake CLI commands operate within context of a specified connection. The only required fields in a named connection in config.toml are user and account, however, many Snowflake CLI commands require database, schema, or warehouse to be set in order for a command to be successful. For this reason, it's convenient to proactively set these fields in your named connections:
[connections.my_connection]
user = "jdoe"
account = "my_account"
database = "jdoe_db"
warehouse = "xs"
This is especially recommended if you usually work with a particular context (i.e., a single database, dedicated warehouse, or role, etc.).
If you switch your Snowflake context often (for example, when using different roles), it's good practice to define several connections that each correspond to a specific context, like so:
[connections.admin_connection]
user = "jdoe"
account = "my_account"
role = "accountadmin"

[connections.eng_connection]
user = "jdoe"
account = "my_account"
role = "eng_ops_rl"
In such cases, switching between multiple connections can be easily done by using the snow connection set-default command shown previously.
Overriding connection details
There may be instances where you might want to override connection details without directly editing config.toml. You can do this in one of the following ways:
- Using connection flags in CLI commands
- Using environment variables
Using CLI flags
All commands that require an established connection to Snowflake support the following flags:
╭─ Connection configuration ──────────────────────────────────────────────────────────────────────────────────────────────────────────────────────────────────────────────────────────────────────────────╮
│ --connection,--environment  -c      TEXT  Name of the connection, as defined in your `config.toml`. Default: `default`.                                                                                 │
│ --account,--accountname             TEXT  Name assigned to your Snowflake account. Overrides the value specified for the connection.                                                                    │
│ --user,--username                   TEXT  Username to connect to Snowflake. Overrides the value specified for the connection.                                                                           │
│ --password                          TEXT  Snowflake password. Overrides the value specified for the connection.                                                                                         │
│ --authenticator                     TEXT  Snowflake authenticator. Overrides the value specified for the connection.                                                                                    │
│ --private-key-path                  TEXT  Snowflake private key path. Overrides the value specified for the connection.                                                                                 │
│ --database,--dbname                 TEXT  Database to use. Overrides the value specified for the connection.                                                                                            │
│ --schema,--schemaname               TEXT  Database schema to use. Overrides the value specified for the connection.                                                                                     │
│ --role,--rolename                   TEXT  Role to use. Overrides the value specified for the connection.                                                                                                │
│ --warehouse                         TEXT  Warehouse to use. Overrides the value specified for the connection.                                                                                           │
│ --temporary-connection      -x            Uses connection defined with command line parameters, instead of one defined in config                                                                        │
│ --mfa-passcode                      TEXT  Token to use for multi-factor authentication (MFA)                                                                                                            │
╰─────────────────────────────────────────────────────────────────────────────────────────────────────────────────────────────────────────────────────────────────────────────────────────────────────────╯
You can access this list by running any Snowflake CLI command with --help.
You can override any of the connection settings above directly from the CLI. Overriding a connection detail using a CLI flag will always take precedence over other overwriting methods (as in the next section).
Using environment variables
Another option for overriding connection details is to use environment variables. This option is recommended for passwords or any other sensitive information, especially if you use Snowflake CLI with external systems (e.g., CI/CD pipelines, etc.)
For every connection field, there are two flags:
- A generic flag in form of
SNOWFLAKE_[KEY] - A connection-specific flag in form of
SNOWFLAKE_CONNECTIONS_[CONNECTION_NAME]_[KEY]
Connection specific flags take precedence over generic flags.
Let's take a look at an example, where we test a connection with a role that doesn't exist in that Snowflake environment:
SNOWFLAKE_ROLE=funny_role snow connection test
If the role does not exist, you should see error similar the one below:
╭─ Error ───────────────────────────────────────────────────────────────────────────────────────────────────────────────╮
│ Invalid connection configuration. 250001 (08001): None: Failed to connect to DB: myacc.snowflakecomputing.com:443.    │
│ Role 'FUNNY_ROLE' specified in the connect string does not exist or not authorized. Contact your local system         │
│ administrator, or attempt to login with another role, e.g. PUBLIC.                                                    │
╰───────────────────────────────────────────────────────────────────────────────────────────────────────────────────────╯
Using temporary connection
In situations where you are unable to add a new connection to config.toml, you may specify a temporary connection directly from the command line using the -x or --temporary-connection flags. These flags allow you to specify connection details inline, like so:
snow sql -q "SELECT r_value FROM my_table LIMIT 10" -x --account=<account_name> --user=<user_name> --password=<your_password>
In the example above, we establish a temporary connection to Snowflake and execute the SELECT r_value FROM my_table LIMIT 10 SQL statement.
Snowflake CLI enables basic execution of SQL. In this step you will learn how to execute ad-hoc queries or entire SQL files.
The sql command
To execute SQL queries using Snowflake CLI, you can use the snow sql command.
The snow sql command can be run as follows:
snow sql --help

 Usage: snow sql [OPTIONS]

 Executes Snowflake query.
 Query to execute can be specified using query option, filename option (all queries from file will be executed) or via
 stdin by piping output from other command. For example `cat my.sql | snow sql -i`.

╭─ Options ─────────────────────────────────────────────────────────────────────────────────────────────────────────────╮
│ --query     -q      TEXT  Query to execute. [default: None]                                                           │
│ --filename  -f      FILE  File to execute. [default: None]                                                            │
│ --stdin     -i            Read the query from standard input. Use it when piping input to this command.               │
│ --help      -h            Show this message and exit.                                                                 │
╰───────────────────────────────────────────────────────────────────────────────────────────────────────────────────────╯
Whenever you're working with a new Snowflake CLI command, consider running it initially with the --help flag to learn more about how to use it.usages.
Executing ad-hoc query
To execute an ad-hoc query run the following command:
snow sql --query "select 1 as a, 2 as b, 3 as c"
This command will output the following:
+-----------+
| A | B | C |
|---+---+---|
| 1 | 2 | 3 |
+-----------+
You can execute multiple queries using --query parameter. For example:
snow sql --query "select 42 as a; select 2 as b"
This will return result for each query separately:
select 42 as a;
+----+
| A  |
|----|
| 42 |
+----+

select 2 as b
+---+
| B |
|---|
| 2 |
+---+
Process the output programmatically
You may encounter situations where you might want to process the output of a SQL query programmatically. To do this, you'll need to change the output format of the command output.
Currently Snowflake CLI supports only JSON output. To format the output of your SQL queries to JSON, you'll need to add --format=JSON to your query commands.
Let's re-run the above examples using JSON format. To do so run the following command:
snow sql --query "select 1 as a, 2 as b, 3 as c" --format=JSON
This will return data as single array (because there's only single query) with rows:
[
  {
    "A": 1,
    "B": 2,
    "C": 3
  }
]
Next run the other example with JSON format:
snow sql --query "select 42 as a; select 2 as b" --format=JSON
In this case data will be returned as array of arrays due to executing multiple queries:
[
  [
    {
      "A"  :   42
    }
  ],
  [
    {
      "B"  :   2
    }
  ]
]
Executing query from file
Snowflake CLI also allows you to execute SQL files. Let's start by preparing a SQL file with a very simple script.
First, write select 1 to a file called test.sql. This will create the file in your working directory.
echo "select 1 as a;" >> test.sql
Next, execute the contents of the file by running the following:
snow sql --filename test.sql
As a result you should see the following output:
+---+
| a |
|---|
| 1 |
+---+
Templating SQL queries
In many case you may want to change your queries depending on some context, for example type of environment (production vs. testing). This is possible thanks to client-side templating in Snowflake CLI. We call it client-side to distinguish if from server-side rendering supported by EXECUTE IMMEDIATE FROM.
Snowflake CLI is using <% VARIABLE_NAME %> pattern for specifying variables in SQL. You can use templates in both ad-hoc queries and files.
Variables can be defined using -D/--variable flag in snow sql command. The input for this flag has to be in form of key=value string.
To test out the templating functionality run the following command:
snow sql -q "select <% my_var %> + 2" -D "my_var=40"
in the result you should see the following:
select 40 + 2
+--------+
| 40 + 2 |
|--------|
| 42     |
+--------+
Snowflake CLI offers commands for generic object operations like SHOW, DROP and DESCRIBE. Those commands are available under snow object command.
Prerequisites
Let's create a new database using snow sql:
snow sql -q "create database snowflake_cli_db"
Listing objects
Snowflake CLI allows you to list existing objects of given type. In this example we will use `database`` as the type.
To list available databases to you run:
snow object list database
You can filter results by specifying --like flag. For example running the following command should return only one database:
snow object list database --like=snowflake_cli_db
To learn more about supported objects, run snow object list --help.
Describing objects
Snowflake CLI allows you to describe objects of a given type. In this example, we will use `database`` as the type.
By running the following command you will get details of the database we created in previous steps:
snow object describe database snowflake_cli_db
To check for list of supported objects run snow object describe --help.
Dropping objects
Snowflake CLI allows you to drop existing objects of a given type. In this example we will use `database`` as the type.
By running the following command you will drop the database we created in previous steps:
snow object drop database snowflake_cli_db
To check for list of supported objects run snow object drop --help.
You can use Snowflake CLI to work with stages. In this step you will learn how to use the snow stage commands.
Prerequisites
Commands in this section require a database and schema to be specified in your connection details. If you skipped creating snowflake_cli_db database in previous steps, you should create it now by running the following command:
snow sql -q "create database snowflake_cli_db"
After running the command you should see output similar to this one:
+---------------------------------------------------+
| status                                            |
|---------------------------------------------------|
| Database SNOWFLAKE_CLI_DB successfully created.   |
+---------------------------------------------------+
Creating a stage
You can create a new stage using by running the following command:
snow stage create snowflake_cli_db.public.my_stage
If the command succeeds, you should see the following output:
+----------------------------------------------------+
| key    | value                                     |
|--------+-------------------------------------------|
| status | Stage area MY_STAGE successfully created. |
+----------------------------------------------------+
Uploading files to a stage
Now that the stage is created, you can upload files from your local file system to the stage. First, you'll need to create these files before uploading them.
Let's create an empty CSV file:
touch data.csv
Next, upload this file to the stage by running the following command:
snow stage copy data.csv @snowflake_cli_db.public.my_stage
Running this command should return the following output:
+----------------------------------------------------------------------------------------------------------------+
| source   | target   | source_size | target_size | source_compression | target_compression | status   | message |
|----------+----------+-------------+-------------+--------------------+--------------------+----------+---------|
| data.csv | data.csv | 0           | 16          | NONE               | NONE               | UPLOADED |         |
+----------------------------------------------------------------------------------------------------------------+
Listing stage contents
At this point you should have a stage with a single file in it. To list the contents of the stage, you can run:
snow stage list @snowflake_cli_db.public.my_stage
After running this command you should see output similar to the folowing:
+--------------------------------------------------------------------------------------------+
| name              | size | md5                              | last_modified                |
|-------------------+------+----------------------------------+------------------------------|
| my_stage/data.csv | 16   | beb79a90840ec142a6586b03c2893c77 | Fri, 1 Mar 2024 20:56:24 GMT |
+--------------------------------------------------------------------------------------------+
Downloading a file from stage
You can also download files from a stage. Let's download the CSV file we just uploaded.
You can download files from a stage using the same `snow stage copy`` command, only this time you will replace the order of the arguments.
To download the file from the stage to your current working directory run the following command:
snow stage copy @snowflake_cli_db.public.my_stage/data.csv .
This command should return output similar to the following:
+----------------------------------------+
| file     | size | status     | message |
|----------+------+------------+---------|
| data.csv | 0    | DOWNLOADED |         |
+----------------------------------------+
Removing stage
Lastly, you can use Snowflake CLI to remove a stage. You can do this with the snow object drop command.
To remove the stage you created for this tutorial, run:
snow object drop stage snowflake_cli_db.public.my_stage
In the output, you should see a message like this one:
+--------------------------------+
| status                         |
|--------------------------------|
| MY_STAGE successfully dropped. |
+--------------------------------+
In the next steps, you'll learn how to use Snowflake CLI to bootstrap and develop Snowpark, Snowflake Native App and Streamlit apps.
Let's take a look at how Snowflake CLI can support development of Snowpark applications with multiple functions and procedures.
Initializing Snowpark project
You can use Snowflake CLI to initialize a Snowpark project. To do so, run the following command
snow init my_project --template example_snowpark
Running this command will create a new my_project directory. Now move to this new directory by running:
cd my_project
This new directory include:
- snowflake.yml – a project definition file that includes definitions of procedures and functions
- requirements.txt – a requirements file for this Python project.
- app/ - directory with Python code for your app
In its initial state, the project defines:
- A function called
hello_function(name string) - Two procedures:
hello_procedure(name string)andtest_procedure()
Building Snowpark project
Working with a Snowpark project requires two main steps: building and deploying. In this step you will build the project.
Building a Snowpark project results in the creation of a ZIP file. The name of the ZIP file is the same as the value of the snowpark.src key from snowflake.yml. The archive contains code for your application, as well as downloaded dependencies that were defined in requirements.txt (not present in Snowflake's Anaconda channel).
You can build the project by running:
snow snowpark build
Deploying the Snowpark project
The next step is to deploy the Snowpark project. This step uploads your code and required dependencies to a stage in Snowflake. At this point, functions and procedures will be created in your Snowflake account.
Before deploying the project, you will need to create a database to store the the functions and procedures. This is also where the stage will be created.
To create a database, use the snow sql command:
snow sql -q "create database snowpark_example"
Now, you can deploy the project to the newly created database:
snow snowpark deploy --database=snowpark_example
This will result in the creation of the functions and procedures. After the process is completed you should see message similar to this one:
+----------------------------------------------------------------------------+
| object                                               | type      | status  |
|------------------------------------------------------+-----------+---------|
| SNOWPARK_EXAMPLE.PUBLIC.HELLO_PROCEDURE(name string) | procedure | created |
| SNOWPARK_EXAMPLE.PUBLIC.TEST_PROCEDURE()             | procedure | created |
| SNOWPARK_EXAMPLE.PUBLIC.HELLO_FUNCTION(name string)  | function  | created |
+----------------------------------------------------------------------------+
Executing functions and procedures
You have successfully deployed Snowpark functions and procedures. Now you can execute them to confirm that they function as intended.
To execute the HELLO_FUNCTION function run the following
snow snowpark execute function "SNOWPARK_EXAMPLE.PUBLIC.HELLO_FUNCTION('jdoe')"
Running this command should return output similar to this:
+--------------------------------------------------------------+
| key                                            | value       |
|------------------------------------------------+-------------|
| SNOWPARK_EXAMPLE.PUBLIC.HELLO_FUNCTION('JDOE') | Hello jdoe! |
+--------------------------------------------------------------+
To execute the HELLO_PROCEDURE procedure run the following command:
snow snowpark execute procedure "SNOWPARK_EXAMPLE.PUBLIC.HELLO_PROCEDURE('jdoe')"
Running this command should return an output similar to this one:
+-------------------------------+
| key             | value       |
|-----------------+-------------|
| HELLO_PROCEDURE | Hello jdoe! |
+-------------------------------+
Let's take a look at how Snowflake CLI can support development of a Snowflake Native App.
Initializing a Snowflake Native App project
You can use Snowflake CLI to initialize a Snowflake Native App project. To do so, run the following command
snow app init na_streamlit_project --template streamlit-python
Running this command will create a new na_streamlit_project directory from a predetermined template provided by Snowflake called streamlit-python. For a full list of templates, check out the official Snowflake Native App templates repo.
Once the directory is created, navigate to it by running:
cd na_streamlit_project
This new directory includes:
- snowflake.yml – a project definition file that includes information about the Snowflake Native App that you will create.
- src/ – a directory that contains all the source code for stored procedures, UDFs and streamlit application.
- app/ - a directory that contains the files required by Snowflake Native App such as manifest.yml and a setup script.
- scripts/ - a directory that contains scripts that will be run as part of the Snowflake Native App creation.
This template will be used to build a simple calculator as a Snowflake Native App.
Building a Snowflake Native App
Working with this Snowflake Native App project involves two main steps: deploying an application package and creating an application object from this application package.
The following step will create an application package for you, upload the files specified in snowflake.yml to a stage, run any scripts in scripts/ if they are specified in snowflake.yml, and create an application object from this application package using named files on the stage.
You can achieve all of the above from your project by running a single commnad:
snow app run
As a note, this template assumes that the role and warehouse you specified in your config.toml file has the required privileges to create an application package and an application object. If you did not specify either in config.toml file, then the default role and/or warehouse assigned to your user will be used.
After the process is completed you should see message similar to this one:
Your application object na_streamlit_project_$USER is now available:
https://app.snowflake.com/.../apps/application/na_streamlit_project_$USER
where $USER is populated from the environment variable from your machine. This will navigate you directly to the application object created in your account.
Executing functions and procedures in your application object
You have successfully created an application object in your account. Now you can use either the Streamlit UI or SQL to interact with it.
To execute the core.add function in the application object using SQL, run the following
snow sql -q "select na_streamlit_project_$USER.core.add(1, 2)"
replacing na_streamlit_project_$USER with the actual name of your application object. This will output the result of the function call also on the console.
Opening a Snowflake Native App from the command line
Snowflake CLI also allows you to retrieve the URL for a Snowflake Native App, as well as open the app directly from the command line. To open the application created in previous step while still in the project directory, run:
snow app open
This will open the Snowflake Native App in your browser.
Dropping a Snowflake Native App from the command line
Snowflake CLI allows you to drop both the application object and the application package you created as part of the previous snow app run in one go. To do that, run:
snow app teardown
This will drop both the objects for you. As a note, it will not drop any other roles, databases, warehouses etc associated with the Snowflake Native App project.
Snowflake CLI also provides commands to work with Streamlit applications. In this step you will learn how to deploy a Streamlit application using Snowflake CLI.
Initializing Streamlit project
Start by initializing a Streamlit project. To do so, run:
snow init streamlit_app --template example_streamlit
By running this command a new streamlit_app directory will be created. Similar to a Snowpark project, this directory also includes also a snowflake.yml file which defines the Streamlit app.
Navigate to this new project directory by running:
cd streamlit_app/
Deploying a Streamlit project
The next step is to deploy the Streamlit application. Before deploying you will need to create database where the Streamlit and related sources will live. To do so run:
snow sql -q "create database streamlit_example"
You'll also need a warehouse to deploy the Streamlit application. If you already have a warehouse that you can use, then you should update the Streamlit definition in the snowflake.yml file to use the specified warehouse:
definition_version: 1
streamlit:
  # ...
  query_warehouse: <warehouse_name>
Once you specify an existing warehouse, you can deploy the Streamlit application by running:
snow streamlit deploy --database=streamlit_example
Successfully deploying the Streamlit should result in message similar to this one:
Streamlit successfully deployed and available under https://app.snowflake.com/.../streamlit-apps/STREAMLIT_EXAMPLE.PUBLIC.STREAMLIT_APP
Opening Streamlit app from the command line
Snowflake CLI also allows you to retrieve the URL for a Streamlit app, as well as open the app directly from the command line. To open the application created in previous step run:
snow streamlit get-url streamlit_app --database=streamlit_example --open
You can also manage Snowpark Container Services with Snowflake CLI. In this step, you'll learn how to create and use Snowpark Container Services with Snowflake CLI. To proceed, you'll need the following prerequisites:
- A Snowflake account with Snowpark Container Services enabled
- A user in your Snowflake account with ACCOUNTADMIN privileges
- Docker Desktop installed on your computer
Download the source code
Download the source code for this section: snowflake_cli_snowpark_container_services
Set up your connection
- Navigate to the downloaded folder (i.e.,
cd snowflake_cli_snowpark_container_services, or wherever you saved the source code). - Setup the connection for your admin user by running
snow connection addand filling in the admin user login along with the following settings:
Name for this connection: admin
Snowflake account name: <account_name>
Snowflake username: <admin_user>
Snowflake password [optional]: <password> (note that your password input will be hidden)
Role for the connection [optional]: accountadmin
Create a test role
- Edit the setup/admin_setup.sql file and fill in
- Run
snow sql -f setup/admin_setup.sql -c admin. This does the following:
- Creates a role (
test_role) and other Snowflake objects. To create the role and objects, you must use the ACCOUNTADMIN role. (This restriction helps to control costs and manage business information risks.) The script also grants thetest_rolerole the privileges needed to manage the newly created objects. - Grants the role to the specified test user, who then uses the role to explore the tutorial.
Set up a connection for your test role
- Setup the connection for your test user by running
snow connection addand filling in the user login as well as the following settings:
Name for this connection: default
Snowflake account name: <account_name>
Snowflake username: <test_user>
Snowflake password [optional]: <password> (note that your password input will be hidden)
Role for the connection [optional]: tutorial_role
Warehouse for the connection [optional]: tutorial_warehouse
Database for the connection [optional]: tutorial_db
Schema for the connection [optional]: data_schema
Create an image repository for your service code
- Run
snow sql -f setup/user_setup.sql. This does the following:
- Creates a schema for your image repository and service.
- Creates an image repository to store your service code (container images).
Verify proper set up
- Verify that you have the correct objects from the setup with the following commands
# should describe your newly created compute pool
snow object describe compute-pool tutorial_compute_pool

# should describe your newly created warehouse
snow object describe warehouse tutorial_warehouse

# confirms that tutorial repository exists and also returns the url
snow spcs image-repository url tutorial_repository
Build an image and upload it to an image repository
- Get the repository URL by running:
snow spcs image-repository url tutorial_repository
You could also run the following handy command to retrieve the repository URL and store it:
repo_url=$(snow spcs image-repository url tutorial_repository)
image_name="my_echo_service_image:latest"
- Open another terminal window, and change to the
snowflake_cli_snowpark_container_services/tutorialdirectory. - To build a Docker image, execute the following docker build command using the Docker CLI. Note the command specifies the current working directory (
.) as the PATH for files to use for building the image. You may need to update it according to your preferred directory structure.
docker build --rm --platform linux/amd64 -t <repository_url>/<image_name> .
For image_name, use my_echo_service_image:latest.
- To login to Docker, use
snow spcs image-registry login. - Push your image to Docker with the following command:
docker push <repository_url>/<image_name>
Create the service
- Create the service with the following command
snow spcs service create echo_service --compute-pool tutorial_compute_pool --min-instances 1 --spec-path spec.yaml
- Inspect your service with the following commands:
# check that your service is listed
snow object list service

# get the current status of the service
snow spcs service status echo_service

# get the logs of the service
snow spcs service logs echo_service --container-name echo --instance-id 0

# get detailed info on your service
snow object describe service echo_service
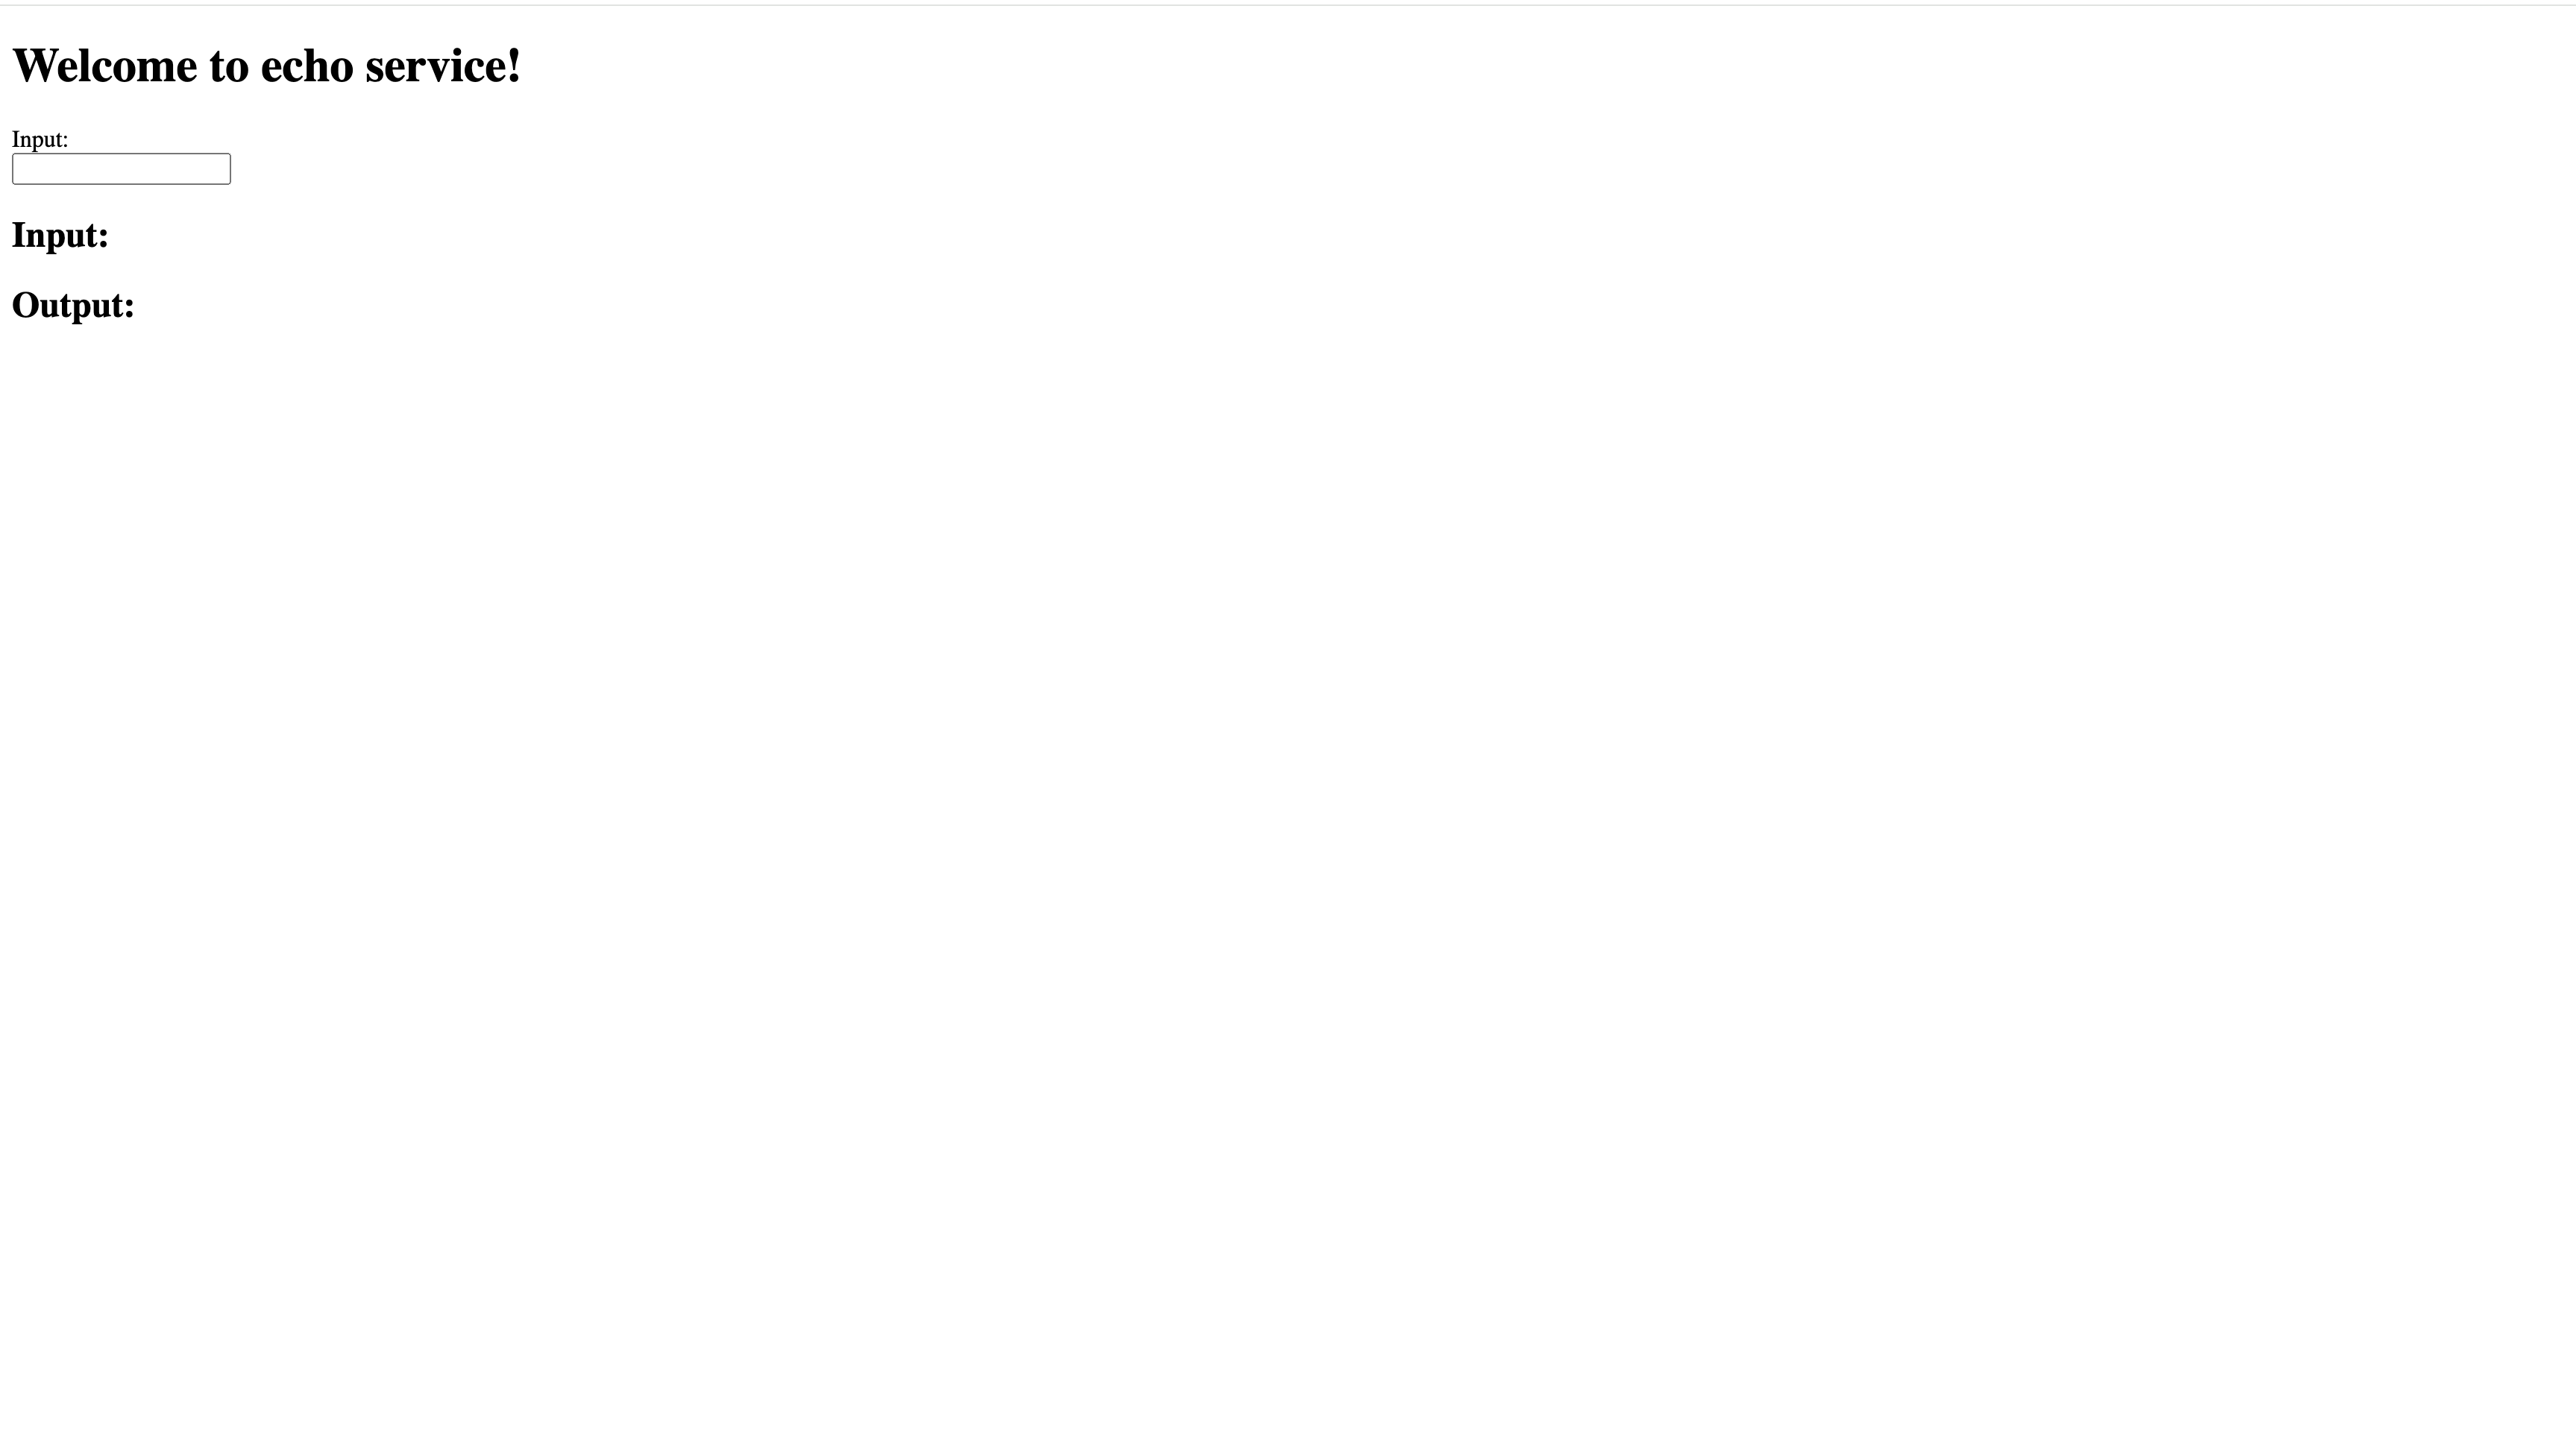
Use the service
- Test the service endpoints using the UI. Start by retrieving the public endpoint of your service with:
snow spcs service list-endpoints echo_service
- In your web browser, navigate to
/ui - Type in some input and press
returnorEnteron your keyboard - You should see output like the following, which is what was specified in echo_service.py:
Clean up
Finally, clean up billable resources by suspending or dropping tutorial_compute_pool and tutorial_warehouse. Run the following commands:
# suspend (currently no native SnowCLI support for suspending warehouses)
snow spcs compute-pool suspend tutorial_compute_pool
snow sql -q "alter warehouse tutorial_warehouse suspend"

# drop
snow object drop compute-pool tutorial_compute_pool
snow object drop warehouse tutorial_warehouse
Congratulations! In just a few short steps, you were able to get up and running with Snowflake CLI for connection and object management, working with stages, and building and deploying Snowpark projects, Snowflake Native App and Streamlit applications.
What we've covered
- Snowflake CLI setup
- Connection management in Snowflake CLI
- Uploading data using Snowflake CLI
- Executing SQL using Snowflake CLI
- Managing Snowflake objects using the CLI